I tested a balcony privacy screen the way I test anything that enters my house: by looking underneath the marketing language first. That meant checking the fabric weave, measuring the mounting hardware, tugging every strap, and asking the question that matters in my home: would Mia touch it, lick it, or run into it? A screen can make a balcony feel private in one afternoon, but the wrong one becomes a noisy sail, a sagging eyesore, or a dangerous loose panel after the first serious wind.
The right choice depends on more than color and advertised coverage. You need to match the material to sun exposure, understand how the screen attaches to the railing, and leave room for airflow. I spent three months observing a balcony privacy screen through hot afternoons, rain, dust, and regular family use. Here is what I would examine before buying one for an apartment, condo, or raised deck.
Start with the railing, not the product photo
Before you shop, measure the actual opening. Record the railing length, railing height, post spacing, and distance from the top rail to the balcony floor. A common screen size is roughly 3 feet tall by 10 feet long, but balcony railings vary enough that a few inches can determine whether the product looks taut or permanently wrinkled. Measure twice, including around corners.
Then inspect the railing itself. A balcony privacy screen attached to metal pickets needs different hardware from one attached to a solid parapet or wood railing. Most fabric versions use hook-and-loop straps, buckles, or nylon ties. Straps are convenient, but thin ties can saw against painted metal when the wind moves the fabric. Look for reinforced grommets, double-stitched edges, and at least one attachment point every 12 to 18 inches.
Do not drill into a shared railing, exterior wall, or waterproof balcony surface without written permission. Apartment and condominium rules often control exterior colors, visible alterations, and objects that could fall. Ask the property manager for the approved attachment method before opening the box. A $45 screen is not a bargain if removing it costs a deposit or repair fee.
Material claims need a closer look
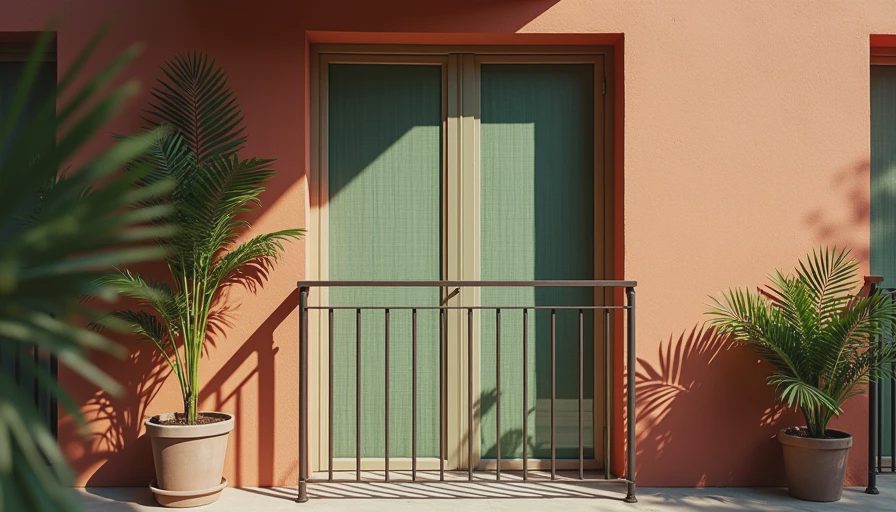
The main options are polyester fabric, HDPE privacy mesh, bamboo or reed, and rigid panels. Polyester is usually the least expensive, often landing between $25 and $70. It is lightweight and easy to store, but low-quality fabric can fade, fray, and hold water. Read the denier rating if provided; a heavier weave generally feels more substantial, although denier alone does not prove outdoor durability.
HDPE mesh is the practical middle ground. It is commonly sold as shade cloth or privacy mesh and allows some air to pass through instead of presenting one uninterrupted wall to the wind. A balcony privacy screen made from knitted mesh usually costs $35 to $100 depending on size and edge reinforcement. I prefer mesh when airflow and low weight matter more than complete visual blockage.
Bamboo and reed screens look warm, but the individual slats can split or loosen. They also add more weight and catch wind differently than woven fabric. Rigid vinyl, wood, and composite panels can deliver the most solid privacy, yet they deserve a real structural review. A balcony railing is not automatically designed to carry a large wind-catching surface. This is where a contractor or building professional should answer questions rather than an online listing.
If the package says “weatherproof,” find out what that means. It may describe water resistance, not UV stability or resistance to mildew. I look for UV-resistant fabric, rust-resistant brass or stainless hardware, and washing instructions that do not require a special cleaning product. A removable balcony privacy screen is easier to clean and replace than one permanently trapped behind furniture.
Wind safety is the non-negotiable test
Privacy is created by blocking sightlines, but wind is created by pressure. The larger and more solid the panel, the more force it can transfer to its attachment points. A screen that feels perfectly secure on a calm morning can strain buckles during a thunderstorm or gusty winter front.
Mesh is often safer than a solid sheet because it gives wind somewhere to pass. That does not make it automatically safe. Inspect every strap after installation, especially at corners. The top and bottom edges should be secured, not just the two ends. If the screen flaps loudly, pulls the railing inward, or causes visible bending, remove it instead of adding more ties and hoping for the best.
I would also avoid improvised zip-tie nests with sharp cut ends facing the walking area. Those little plastic tails are exactly the kind of detail Mia discovers with her hands. Trim them flush and cover exposed hardware where possible. Never use the screen as a child barrier, climbing aid, or substitute for a compliant guardrail. Children should not be left unattended on a balcony, regardless of how securely a balcony privacy screen appears to be installed.
Privacy, light, and the view from inside
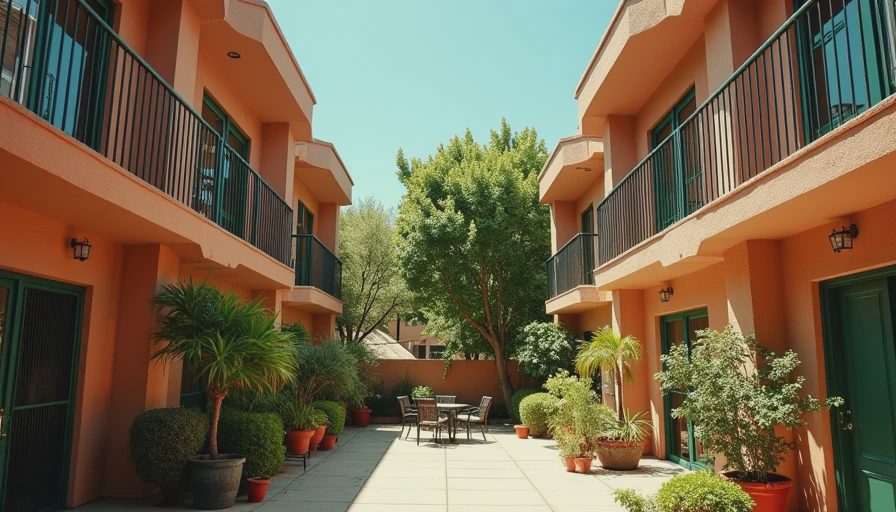
The word “privacy” is slippery. Some screens block a direct view during the day but become partly transparent when your balcony is brighter than the neighboring window. If nighttime privacy matters, test a fabric sample with one side lit and the other side dark. A 90 percent privacy claim still does not mean blackout coverage.
Think about what you want to hide. A narrow screen covering the lower railing can shield seating without making the balcony feel boxed in. A full-height panel creates stronger separation but can reduce daylight in the room behind it. In my own testing, a muted gray mesh looked less harsh than a dark solid sheet and showed less dust than white fabric. It also left enough light for potted herbs near the door.
A balcony privacy screen should work with the furniture, not force the furniture to compensate. Keep chairs, planters, and storage bins away from the railing if they could help a child climb. Choose a color you can tolerate after pollen, rain spots, and city dust arrive. Product photos are usually taken on a spotless balcony in perfect light; real life includes sunscreen fingerprints and a dropped popsicle.
Installation details that separate useful from junk
Lay the screen flat before attaching it. Find the top edge, bottom edge, and corners, then loosely connect every strap. This prevents the common mistake of tightening one end first and discovering that the last grommet is several inches short. After the first pass, smooth the fabric and tighten gradually from the center outward.
Leave enough tension to remove major wrinkles, but do not stretch the material like a drum. Over-tightening concentrates force around grommets and can pull stitching apart. After installation, open and close the balcony door, walk the entire perimeter, and check that no strap or buckle creates a snag point. Photograph the finished setup if you live in a rental so you have a record of how it was attached.
Once a week during the first month, inspect the corners and hardware. After heavy rain or strong wind, inspect them again. Washing should follow the label, but most fabric screens do well with mild soap, cool water, and thorough air drying. Storing the screen dry at the end of the season costs less than replacing a mildew-stained panel.
What I would buy for a family balcony
For a typical apartment balcony, I would start with a UV-resistant knitted mesh panel, reinforced edges, and enough straps to secure the top and bottom every 12 to 18 inches. I would choose a balcony privacy screen that covers the seated sightline rather than automatically buying the tallest available size. That approach preserves light, reduces wind load, and leaves fewer tempting surfaces for a toddler to grab.
A reasonable budget is $40 to $90 for a well-finished fabric or mesh option. Spending $150 or more can make sense for a custom-sized panel or professionally reviewed rigid system, but a higher price does not excuse weak stitching or vague installation instructions. Strip the filter. Look at what is underneath: fabric weight, edge construction, attachment spacing, replacement parts, and cleaning instructions.
The best screen is the one that stays quiet, clean, and firmly attached after months of ordinary use. And the final Mia test is simple: if she can pull it loose, climb on it, chew a sharp corner, or reach exposed hardware, it has failed before the balcony ever looks finished.
No comments yet — be the first to share a thought.