I tested window privacy film in my 1998 Austin fixer-upper because the bathroom window faced a neighbor's driveway and Mia treated the glass like a bulletin board. I looked at daytime privacy, nighttime visibility, adhesive residue, glare, edge lifting, and the question that matters in a house with a preschooler: what happens when a small person presses a sticker, wet hand, or cracker against it? The short answer is that the right film can delay a costly glass replacement, but the wrong one is just a cloudy plastic sheet with a short temper.
What window privacy film actually does
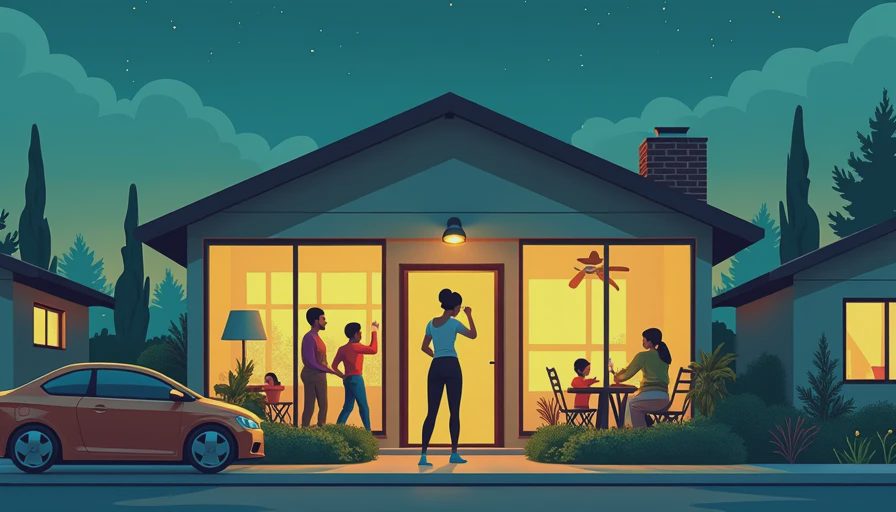
Most residential film changes what people can see through glass. Frosted and etched-look versions scatter light so shapes become indistinct. One-way mirror film relies on a brighter side and a darker side, which means it can provide daytime privacy but usually loses that advantage after interior lights come on at night. Decorative colored or patterned film can soften a view without making the room feel like a cave.
That distinction is important. A product described as privacy film is not automatically a complete privacy solution for a first-floor bedroom. If your room is brighter than the yard during the day, reflective film can work reasonably well. At 9 p.m., with lamps glowing inside, the window may reverse the effect. I would use a frosted product for a bathroom or nursery where consistent obscurity matters more than seeing the garden.
The film also does not make glass safer in the structural sense. It may help hold small shards together when glass breaks, depending on its construction and installation, but it is not a substitute for laminated safety glass or a properly secured window. That is the kind of marketing label worth stripping apart before ordering.
My three-month test: adhesion, light, and mess
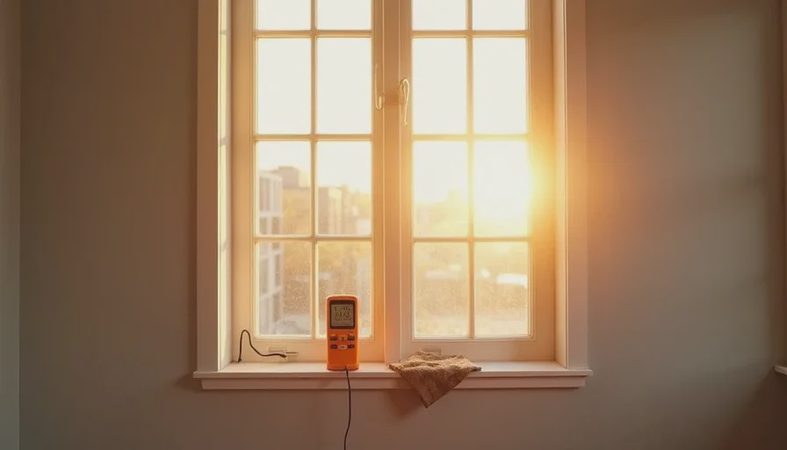
For my window privacy film test, I applied samples to cleaned glass in a bathroom, a hallway, and a south-facing office window. I used a felt-edged squeegee, a spray bottle with water and a tiny amount of dish soap, and a sharp utility knife only for trimming before the film went near Mia. I watched the edges through hot Austin afternoons, wiped each sample with ordinary glass cleaner, and checked the surface from both sides at morning, noon, and night.
The best-performing film went on with enough slip to position the sheet before the water was pushed out. Its backing paper peeled away without turning into a static cling mess. Poorer samples grabbed the glass too early, leaving creases that could not be flattened without lifting a corner. Those wrinkles are not just unattractive; they catch dust and make the film look permanently dirty.
I also measured the practical effect rather than trusting product photos. Frosted film reduced clear sightlines while still allowing plenty of daylight into the bathroom. A heavily patterned option blocked more visual detail but made the room feel dimmer. On the office window, a mirrored sample created distracting reflections when I worked near the glass. A good sample should improve privacy without making you squint at your own reflection.
Choosing the right window privacy film for each room
For a bathroom, choose a dense frosted or textured window privacy film that obscures faces and body outlines from both directions. Measure the glass area, not the full frame, and buy enough extra material to allow a clean trim. A 24-inch-wide roll may cover a narrow pane, while a wider picture window often needs a larger roll or two carefully aligned pieces.
For a street-facing living room, a gradient or top-half design can preserve daylight and a view near eye level while blocking pedestrians from looking directly at the sofa. For a nursery, I prefer a consistent frosted finish over a mirrored product because nighttime behavior is more predictable. If your goal is heat control, look for a film with a stated solar-control rating rather than assuming any decorative sheet will reduce summer heat.
Pattern scale matters too. Tiny dots can look subtle online but visually busy across a six-foot pane. Large botanical patterns hide fingerprints better than a completely smooth translucent surface, although seams are more noticeable. Bring a sample home first. Hold it against the actual glass at the exact time you use the room; showroom lighting tells you almost nothing.

Installation details that prevent expensive-looking mistakes
Clean the glass until no grit remains, then inspect it from an angle. A single crumb under window privacy film becomes a permanent bump. Cut the sheet slightly larger than the pane, wet both surfaces generously, and use the squeegee from the center outward. Leave a narrow gap around the edge if the manufacturer specifies one; film pressed tightly into a silicone seal can lift as moisture and temperature change.
Do not rush the drying period. Small water pockets can disappear as the film cures, but a dry crease will not magically flatten later. Keep the room moderately warm, avoid aggressive cleaning for the first several days, and use a soft cloth afterward. I would not hand a razor blade to a child for any reason, so trimming happens before installation tools enter the room.
For a large pane, the hardest part is handling the sheet without allowing it to fold onto itself. Two adults make the job calmer: one holds the wet film, while the other aligns the top edge. If the window is high, wide, or difficult to reach safely, paying a professional installer $100 to $300 can be cheaper than wasting a full roll and staring at bubbles for five years.
Cost, removal, and toddler reality
A basic roll can cost roughly $20 to $50 for a small bathroom project. Premium decorative, solar-control, or wider products often run $60 to $150 or more. Installation raises the total, but compare that price with replacing custom glass, repainting damaged trim, or living with curtains that block every bit of daylight. A $75 treatment used for seven years costs about $11 annually before installation, which is a more useful calculation than the checkout total alone.
Removable static-cling film is attractive for renters and seasonal decorating, but it can shift more easily at the corners. Adhesive products usually look more finished when installed correctly, yet removal requires patience and sometimes a scraper designed for glass. Test a hidden corner if the window has an existing coating or tint, because compatibility is not guaranteed.
Mia's verdict was immediate: she touched the frosted sample, pressed her nose against it, and tried to find the edge. That is exactly why I favor a well-trimmed sheet with no peeling corner. Window privacy film is not a chew toy, a climbing aid, or a safety barrier. Keep furniture from creating a launch point, use window locks where appropriate, and choose a product that solves the privacy problem without adding a loose, tempting flap.
My buying checklist before you click purchase
Start by deciding whether you need daytime privacy, nighttime privacy, glare reduction, decoration, or some combination. Then check the product's dimensions, application method, cleaning instructions, and removal language. Confirm that the pattern provides the level of obscurity you need from both sides of the glass. Read the installation details rather than relying on a styled room photograph.
I would order a sample, test it in direct sun and lamplight, and leave it in place for at least a week before covering every window. Look for lifted edges, trapped grit, unwanted reflections, and whether the room still feels usable. If the sample passes that inspection, buy a little extra for mistakes and keep the packaging until you are satisfied.
The best window privacy film is the one that matches the room's actual problem. A frosted sheet can be an excellent low-cost fix for a bathroom. A mirrored sheet can disappoint after dark. Decorative film can make plain glass more pleasant, but no pattern excuses poor adhesion or unsafe installation. Strip the filter, look at what's underneath, and let the test—not the product photo—make the decision.
No comments yet — be the first to share a thought.