I tested temporary wallpaper in my 1998 Austin house with the same questions I ask about every finish: what is underneath the marketing label, and what would Mia touch, lick, smear, or headbutt? The short answer is that temporary wallpaper can be genuinely useful, but it is not magic paint in a roll. The backing, adhesive, wall condition, and installation technique decide whether you get a clean transformation or a curling, bubbled afternoon project.
What temporary wallpaper is actually made of
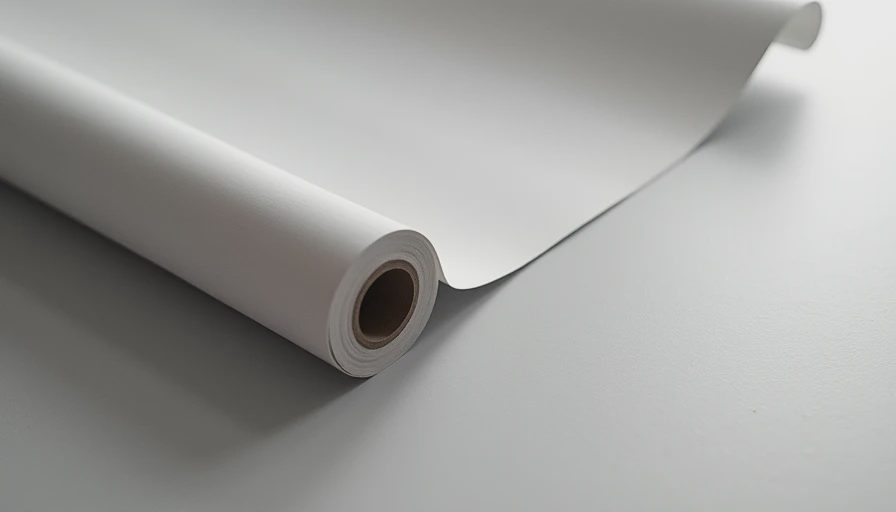
Most temporary wallpaper uses a printed vinyl, paper, or polyester surface attached to a pressure-sensitive adhesive. The peel-and-stick phrase describes the installation method, not a single material standard. One roll can feel thick and fabric-like; another can feel like a large shipping label. That difference matters more than the pattern on the website.
I look first at the backing. A slightly flexible polyester or nonwoven backing usually handles repositioning better than thin paper, especially when a wall is not perfectly flat. Vinyl can be easier to wipe, but a glossy surface can highlight seams and reflect every bump underneath. Paper often looks beautiful in a nursery or powder room, yet it is less forgiving around markers, damp hands, and aggressive cleaning.
I also check the technical sheet for adhesive language, recommended surfaces, cleaning instructions, and any available information about odor or emissions. A strong chemical smell after a few days is not something I ignore simply because the product photographs well. Open the package in a ventilated room, let it air out, and do not install it beside a crib until the smell has disappeared.
Will temporary wallpaper damage your wall?
That depends on the wall more than the roll. Smooth, painted drywall with a sound, cured finish is the easiest surface. Fresh paint can still release moisture or remain soft, so I wait at least several weeks after painting and follow the paint manufacturer's cure guidance. Textured walls, chalky paint, unfinished drywall, and walls with peeling areas are poor candidates.
Before buying enough for a room, I order one sample and leave it in place for at least a week. I test a hidden corner by lifting slowly at a low angle rather than pulling outward. If paint comes away, the problem is not solved by a more careful installation; the wall and adhesive are simply a bad match. Temporary wallpaper is removable, not damage-proof.
For renters, this test is the difference between getting a deposit back and paying for patching. Photograph the wall before installation, keep the packaging, and record the brand, lot information, and date. When removing it, warm the surface gently with a hair dryer and pull parallel to the wall. Do not yank from the top edge like you are opening a cereal box.
The toddler test: fingerprints, corners, and curiosity
Mia does not admire a wall from six feet away. She presses both hands against it, runs a toy along the bottom edge, and investigates any corner that starts to lift. That makes the lower 30 inches the most important part of a family installation.
For a playroom, I prefer a washable matte vinyl or coated surface with a secure edge. “Washable” should mean a lightly damp microfiber cloth, not a soaked sponge and abrasive cleaner. I test a spare piece with washable marker, applesauce, and water. Marker removal is not guaranteed, but the test reveals whether the printed layer clouds, scuffs, or transfers color.
Press seams firmly with a soft seam roller, but do not crush the surface. Use a sharp craft knife only with adult control, and never leave trimming tools or loose strips where a child can reach them. Adhesive does not make a loose corner safe; a toddler can chew it, pull it, or wrap it around a finger. Temporary wallpaper earns a place in a child’s room only when every edge stays flat.
Where temporary wallpaper works best
The easiest wins are a small powder room, a reading nook, the back wall of a bookcase, or a single bedroom accent wall. Smaller areas reduce seam count and make alignment manageable. They also limit your financial risk: a sample and two rolls might cost $60 to $180, while covering a whole room can easily reach $300 to $900 after waste, tools, and a replacement roll.
I am cautious in kitchens, full bathrooms, and rooms with large temperature swings. Steam and repeated moisture can soften adhesive and encourage edge lifting. That does not mean every product fails in a bathroom, but the label must specifically approve the environment. A pretty botanical print is not a moisture rating.
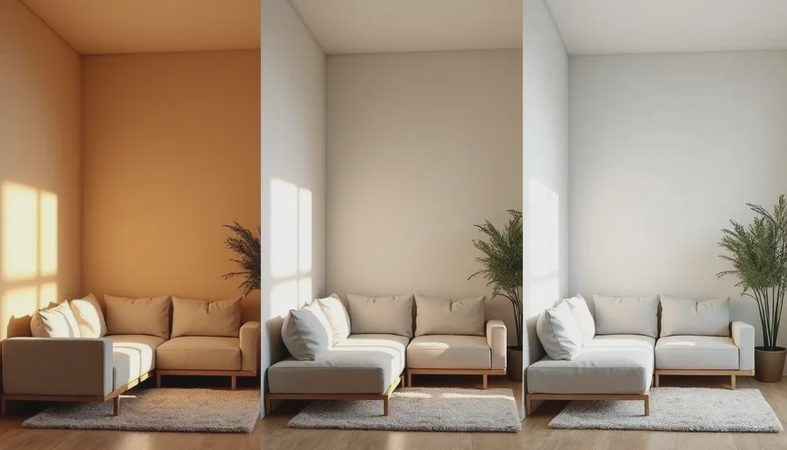
Temporary wallpaper also works well when you want to test a design before committing to traditional paste. Live with the color through morning sun, evening lamplight, and the visual clutter of normal family life. A pattern that looks calm in a staged photograph can become busy beside toys, art, and a brown sofa.
How I install temporary wallpaper without wasting a roll
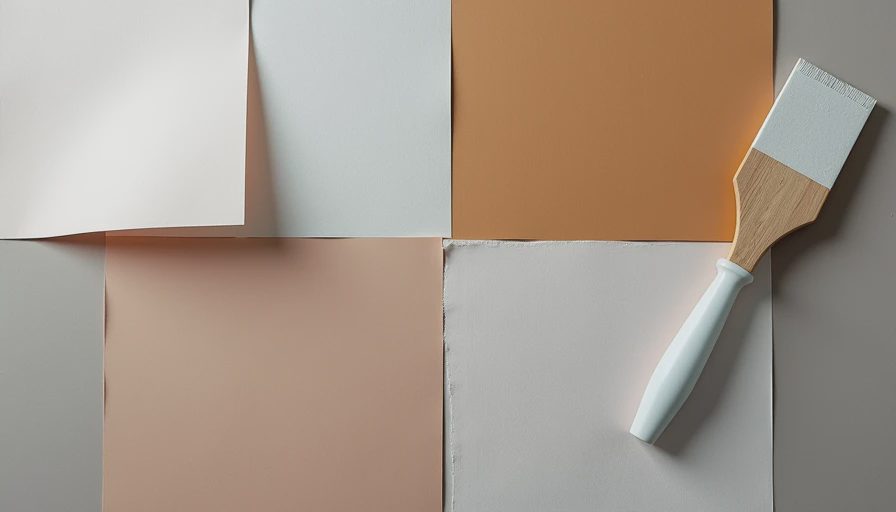
I start by washing the wall with a mild cleaner, removing dust, and allowing it to dry completely. I fill nail holes, sand raised patches, and prime repaired areas so the surface has a consistent texture. Then I measure the wall height in several places. Older homes, including my own, rarely have perfectly level ceilings or floors, so I cut panels with extra length rather than trusting one measurement.
I mark a vertical guide near the first panel using a level. The corner is not always straight enough to use as a starting line. I expose only a few inches of backing at first, align the top, and smooth downward with a felt squeegee. If a bubble appears, I lift the panel gently and reset it before pressing harder. Repositionable adhesive is most forgiving during the first installation, not after repeated lifts.
Buy extra material for pattern matching and mistakes. Ten to fifteen percent overage is reasonable for a simple pattern; large florals, murals, and diagonals can require more. Keep a spare strip for future repairs, because sunlight, furniture movement, or one enthusiastic crayon can create damage months later.
What temporary wallpaper costs over its useful life
Price per roll is a poor comparison. A $45 roll that lifts after six months costs more than an $80 roll that stays smooth for three years, especially when your time is worth something. Divide the total project cost by the years you expect to use it. That is how I compare finishes instead of letting a dramatic discount decide for me.
Read return policies before opening every roll. Color batches can differ, and opened adhesive products are often difficult to return. Check width, repeat, coverage, and whether the seller recommends a primer. A roll that covers 28 square feet may cover less once you match a 24-inch pattern repeat and trim uneven corners.
Brand names help less than specific product documentation. Spoonflower, RoomMates, NuWallpaper, and Tempaper all offer different collections and surface types, so I would not treat an entire brand as universally washable, removable, or toddler-proof. Strip the filter. Look at the backing, care instructions, sample performance, and wall compatibility.
My final call after real-life testing
Temporary wallpaper is a smart tool when you want visual change without committing to paste, paint, or a permanent pattern. It is especially useful for renters, nurseries, small rooms, and households still figuring out the renovation plan. It is not a substitute for repairing a damp wall or hiding serious surface damage.
My buying sequence is simple: order a sample, inspect the technical information, test removal, check odor, and live with the sample through one full week. Then measure twice, buy extra, and install on a clean, cured surface. The most attractive design is still a bad purchase if it curls at toddler height.
What would Mia do to it? She would find the lowest loose corner within ten minutes, so I only recommend temporary wallpaper after every edge passes the hand-pull, damp-cloth, and curiosity tests.

No comments yet — be the first to share a thought.